Sunday, November 7, 2010

Kitchen improvement

My kitchen has not made it to the top of our many renovation projects. But I felt it could be a little better then it has been for quite some time. Over the last year things have gotten worse and eventually I could not see the gaping hole under the sink and the always messy open shelves.

This is before:
Counter top mess, open shelves mess....


The 'desk', files with school papers and important phone numbers...now orderly stored in my IPhone! And in a file called 'home' in the first drawer to the left!!!


Eventually I will get a new kitchen, but for now I have a good feeling and it does not bother me that much that I have a vintage stove and perhaps the smallest fully functioning kitchen in the neighborhood....No, now I am rather proud of it!(OK, somewhat)
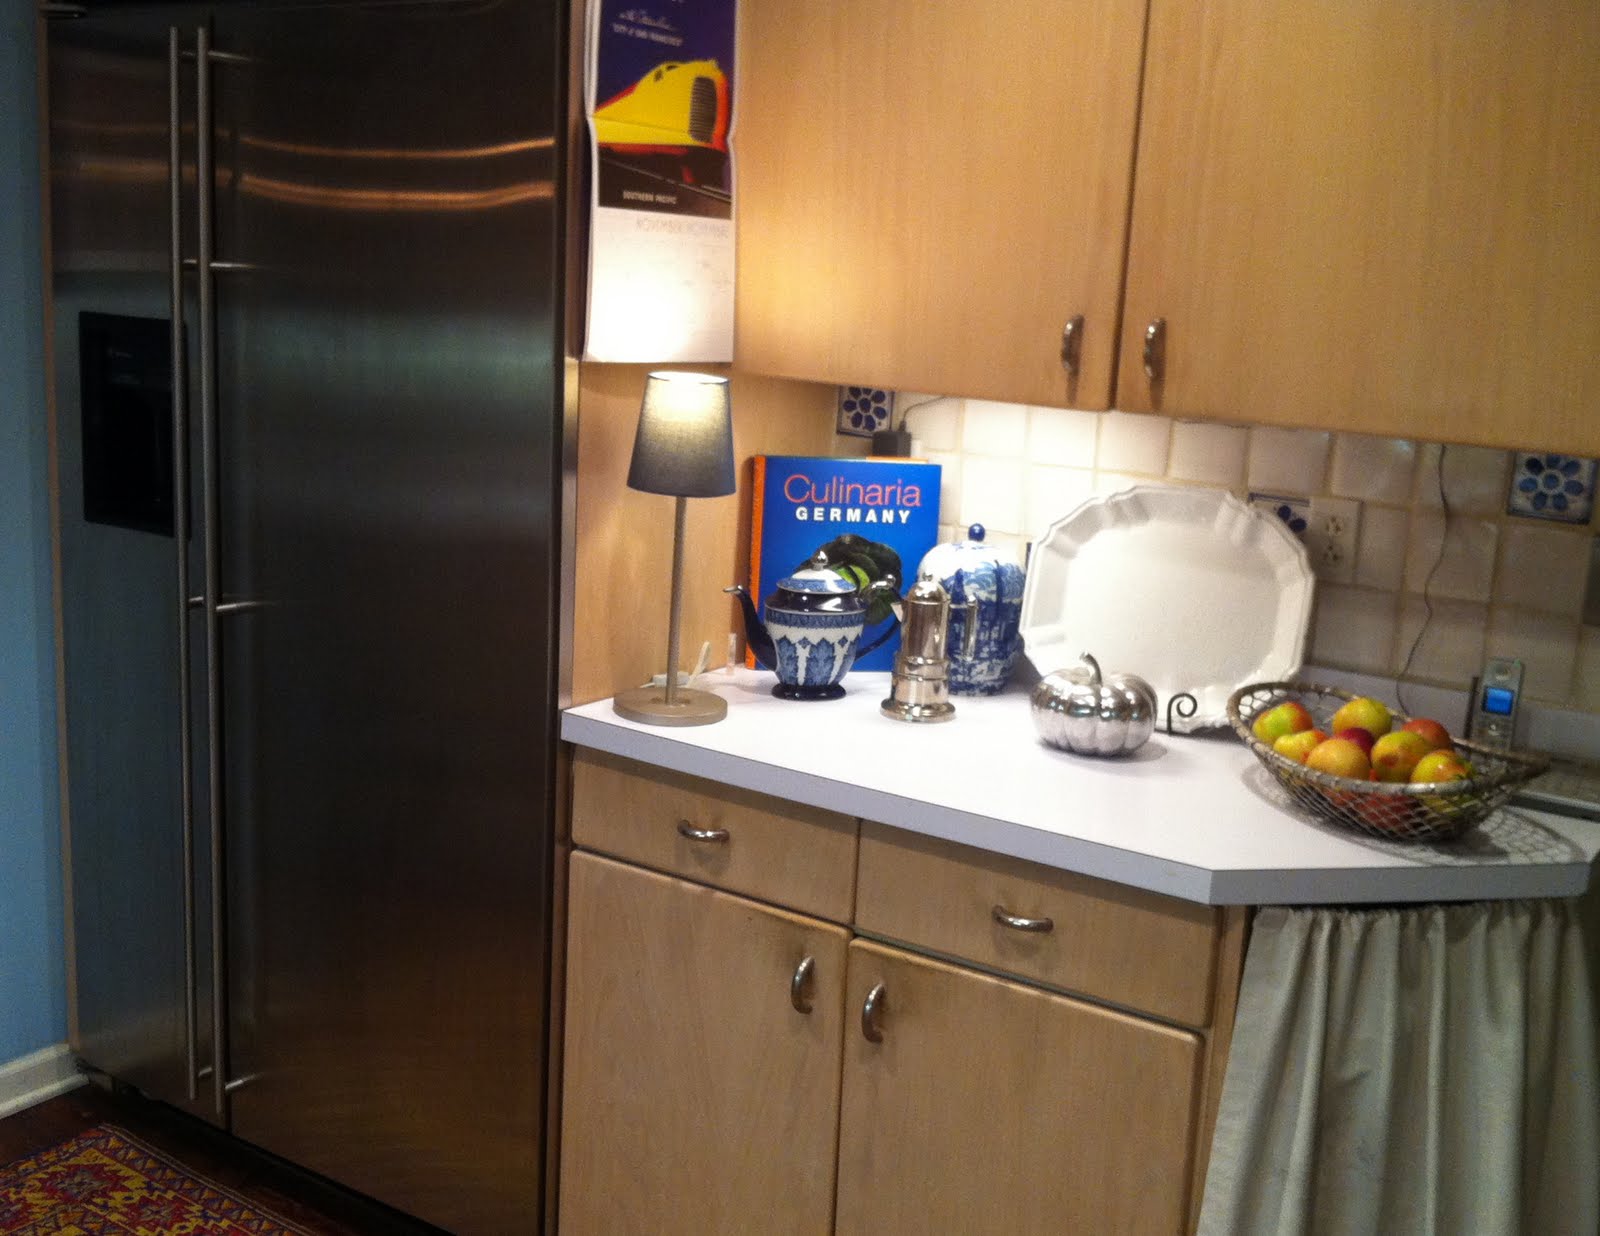
And this is after!


It needed strict editing, sorting and cleaning to come up with a pleasing solution. The things I use the most needed to be within reach, others made it out of the kitchen altogether.


I made these curtains out of painter's drop cloth. I washed the material before sewing, to have no shrinking later, measured and mounted them under the counters. A little tricky, but it works...


I eliminated the 'desk', which never satisfied my craving for some control and I am now much happier with my small display of coffee and tea pots, all whats left is the phone and my IPhone charger....


I even managed a small counter top light, which in the evening casts a friendly shine through my kitchen and into the family room.


Looking much better now from where I see my kitchen when I sit on my desk and write my posts....

Tuesday, November 2, 2010

Chairs and a bench re-upholstery

A few weeks ago I undertook the challenge of re-upholstering my six dining chairs and a bench belonging to the set. They have been with us over the last 10 years and daily meals with two small children have left their marks.
It was time for change.


As always, it was great fun to select new fabrics and since my dining room is colorful and has beautiful silk curtains, which also were hang the day we moved in 10 years ago, there was the challenge to find suitable fabrics, able to fit in.
Easily enough the first visit to my local fabric store provided me with samples which made it right away on to the furniture!!!


Am I lucky or what?
Here a view into the room with the interim chairs, lasting about two years, while the others were stored away! Thinking of my then still rather messy kids I could not fathom to change fabrics just to get them ruined quickly. We do not have a eat-in kitchen an literally everything happens on this table and these chairs. As a matter of fact, I am writing this post right here at this very table.


First I started with the bench, trying out my skills in re-upholstering and working with the staple gun. It was a bit tough at first. The fabric rather thick and it needed work getting the fabric stretched just enough. Centering the pattern was another thing I worried about. But I was happy with the result to tackle all six chairs - with another fabric.


After a day break in-between - to relax my hands...
I started work at the chairs. The preparation was key. Cutting batting and fabric to size, unscrewing all cushions from the seat base and having enough time without interruption was needed to get it done in one go.
The challenge this time? Getting the fabric straight onto the chairs, this small pattern is tricky.


First one done!


And about six hours later.... all done! So worth it! Cost for fabric and staple gun plus staples: $140.00. Saved about $900.00 for the labor costs of upholstery at the shop plus three weeks waiting time to get it done! A little planning and elbow grease made it possible.


Anybody with chairs in need for a little TLC?